Welcome to Mixed Media Monday! Each week, I share a mixed media
layout and include the instructions. The instructions contain the steps
to make the project and contain any tips and tricks I have picked up
along the way. If you ever have any questions about techniques or
products that I used to make this layout, leave a note in the comments
and I will get back to you. I
know that mixed media can be intimidating but I think of it as a
creative adventure. Yes, it requires practice and patience but the
rewards are worth it - I promise!
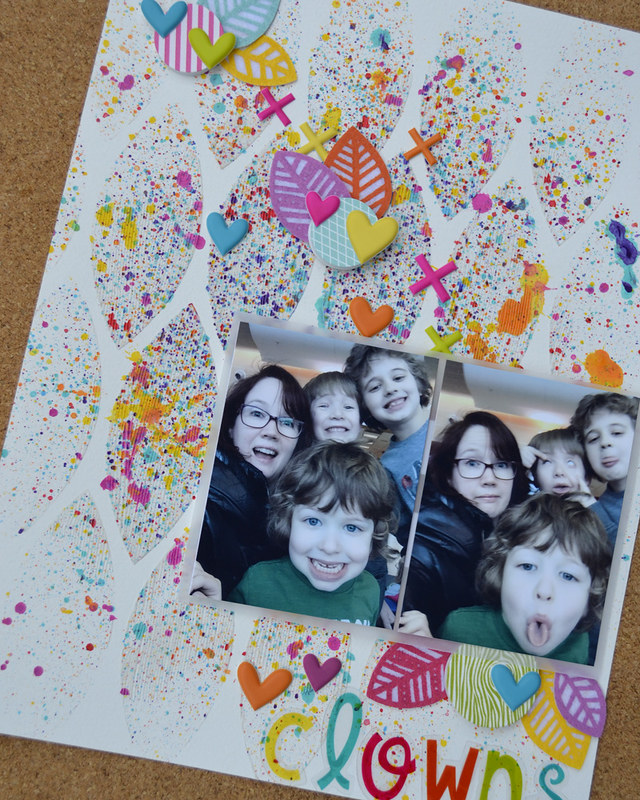
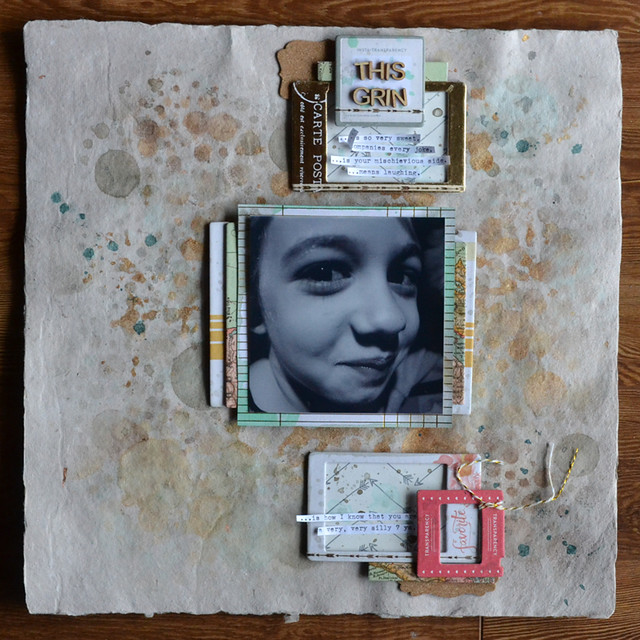
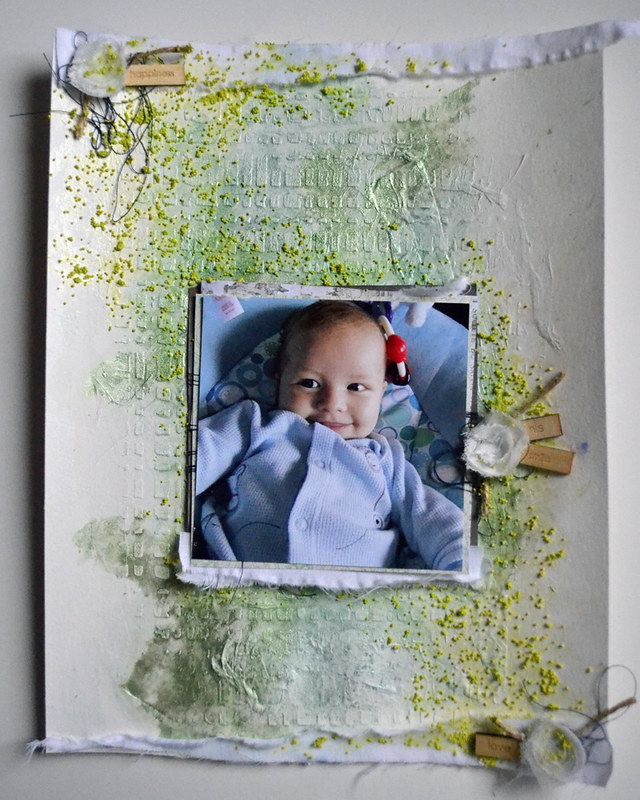
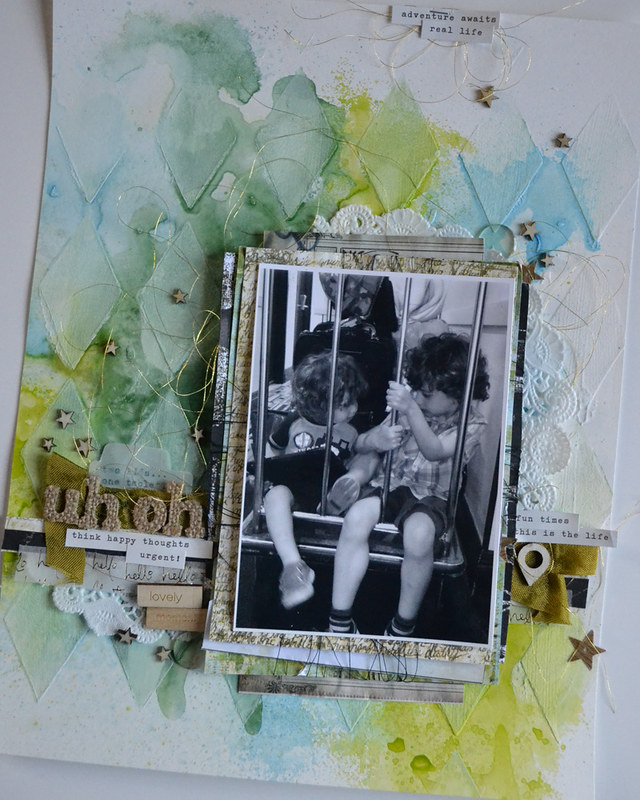
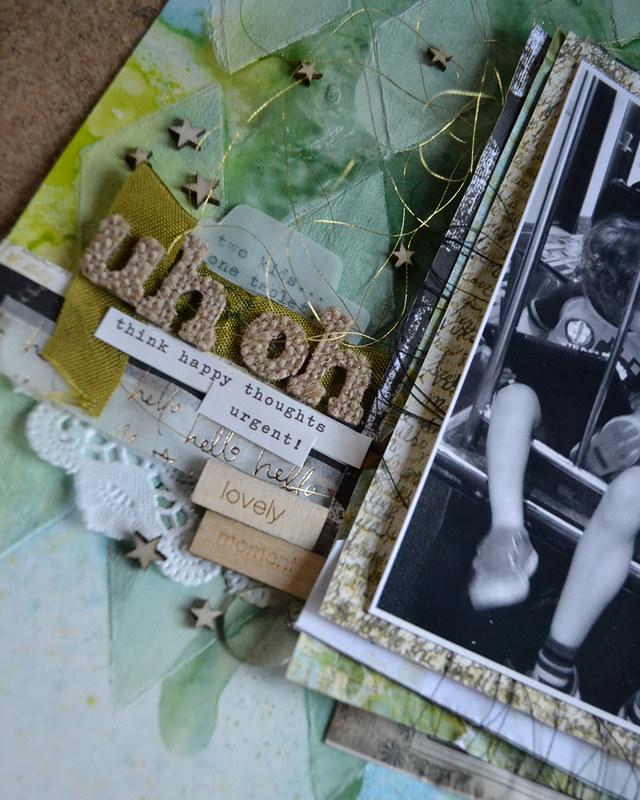
This page is all about the photo. When I took the photo, I thought it
was a cute shot of my kids riding the luggage cart on the way to our hotel room while we were on summer vacation.
That's all I thought it was for years but when I went to scrap it I saw
something that I hadn't noticed before - the expression on my kids'
faces. That's the look of sibling rivalry. Something I'm very
familiar with these days but somehow I missed it back then. So, the story
that I had planned to tell is not the story I am telling with this
layout. It doesn't need a lot of journaling though. The
title and the photo tell the story - two kids, one tablet...uh-oh.
This week's layout uses a lot of the same steps and products that I used to make last week's layout. This is one of the wonderful things about mixed media - using the same supplies doesn't mean your project is going to look the same. You can make it different everytime - if you want.
Supply List:
Heavy Gesso - Art Basics (Prima)
Watercolor Paper (Canson)
Harlequin Stencil (Prima)
Mixed Media Silicon Brush (Prima)
Light Modeling Paste - Art Basics (Prima)
Soft Gloss Gel - Art Basics (Prima)
Color Bloom 2 Spray Inks -
Dragonfly Blue and
Fairy Pond and
Brimstone Wings
Word Label Stickers - Posh Collection (Carpe Diem - Simple Stories)
Pattern Paper: Archivist, Bella Rouge and Finnabair Collections (Prima)
Thread:
White Gold and
Gold (Guterman)
Wood Pattern Sequins - discontinued (Studio Calico)
Instructions:
1. Gesso. Apply gesso to background using a silicon brush or
palette knife.
2. Apply modeling paste through stencil. I used my silicon brush to put Light Modeling Paste on my background through the Harlequin stencil. Set aside to dry.
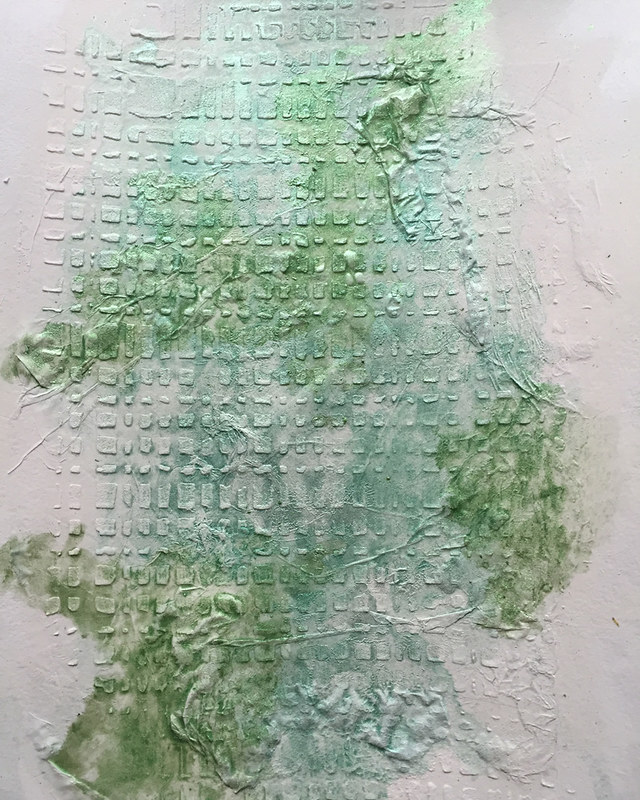
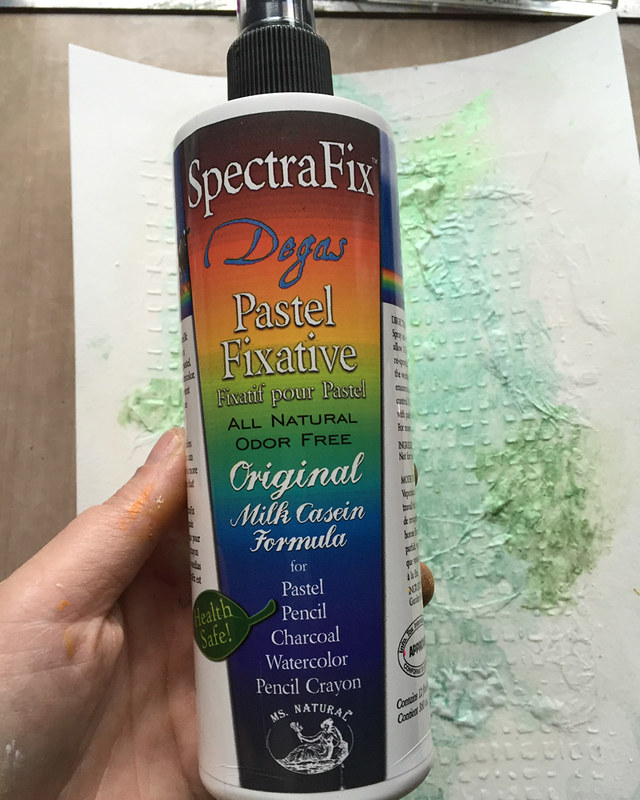
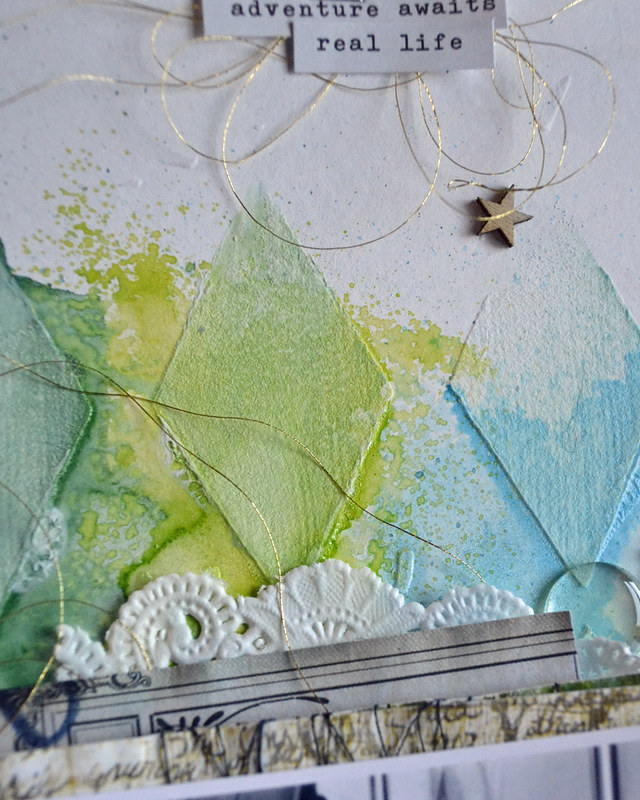
3. Spray ink. I started spraying the lighter Fairy Pond spray ink
first. Then I sprayed the Brimstone Wings (green). Then I added a little
of the darker Dragonfly Blue to the blue sections of the background. The dark green section was created when the blue and green inks blended together. I chose blue and green for this layout because they are my kids' favorite colors. Then set aside to dry or
dry with a heat gun.
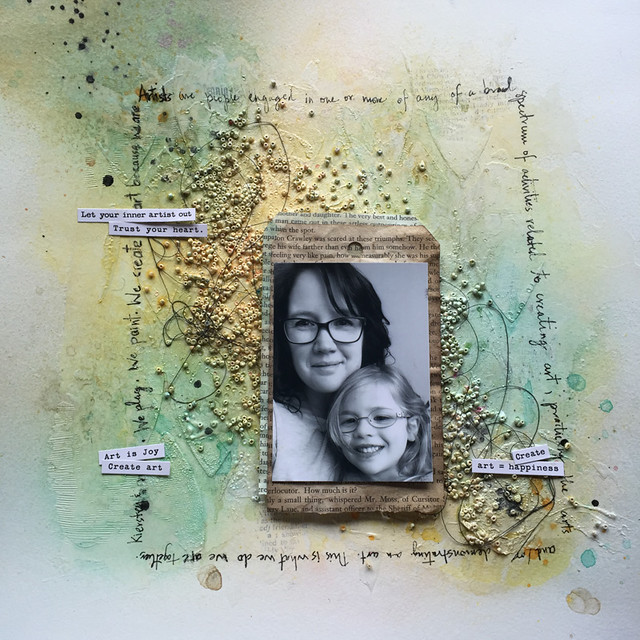
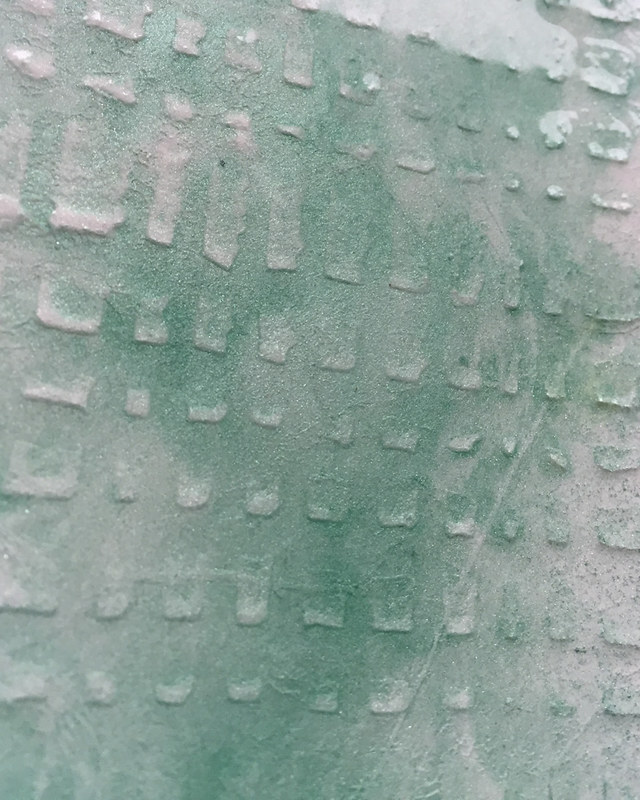
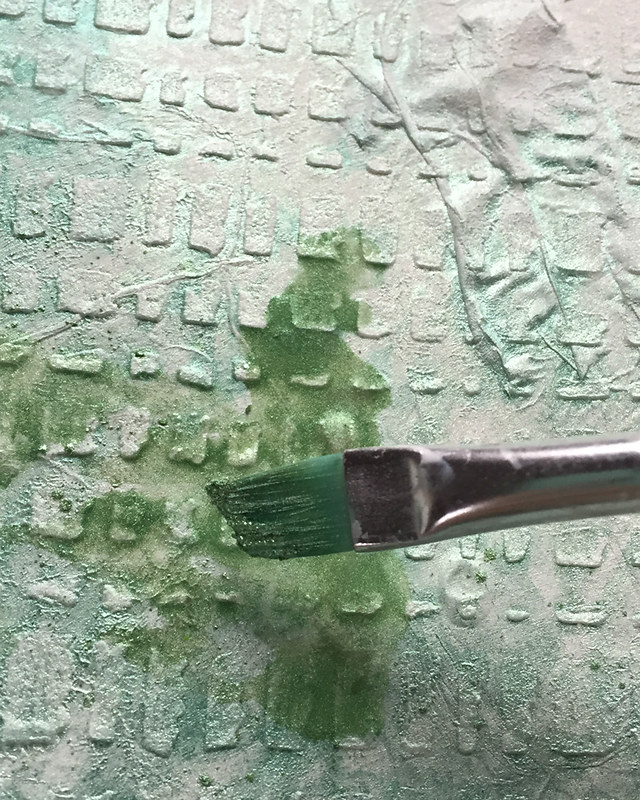
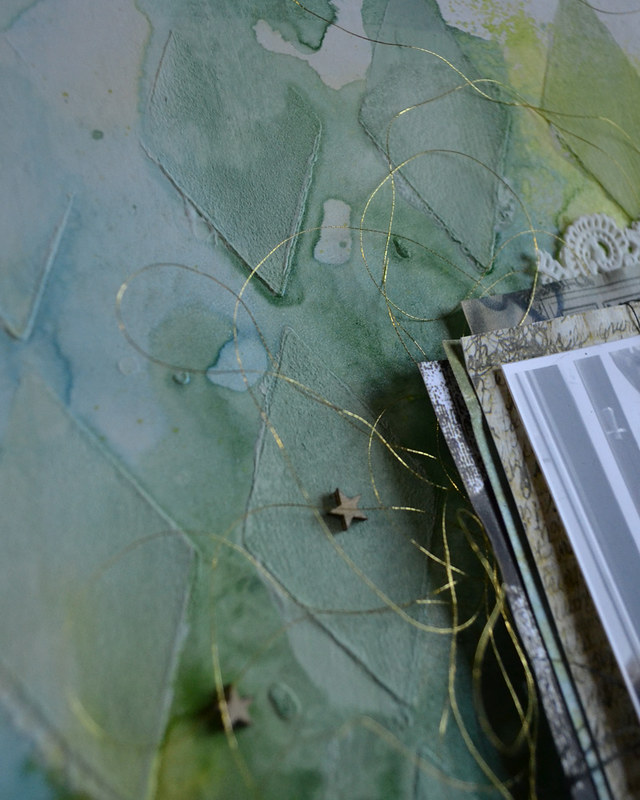
4. Gesso Ghosting. Place your stencil back over
the background and paint with gesso. I used an old paint brush to paint
the gesso on the background. The spray ink was dry and I used the same
stencil that I had used in Step 2. I only wanted gesso on the raised
image so the stencil worked as a mask and helped me control where I
painted the gesso. This creates a subtle tone on tone effect but I love
it. I shared a full step-out of this technique in last week's
Mixed Media Monday blog post.
Tip: Your ink must be completely dry before you start this step. It won't work if the ink is wet.
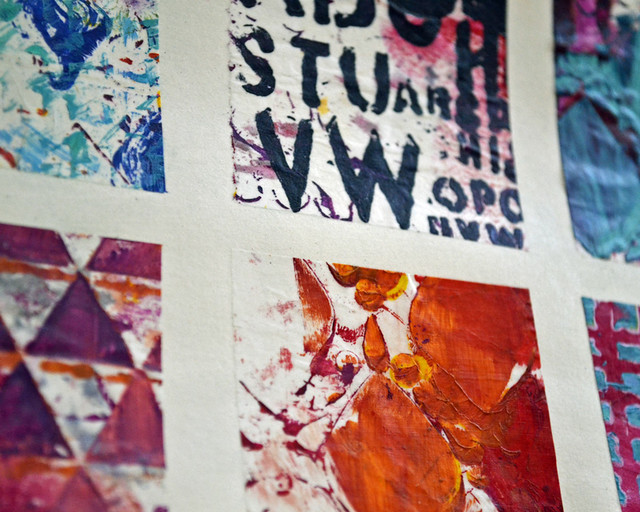
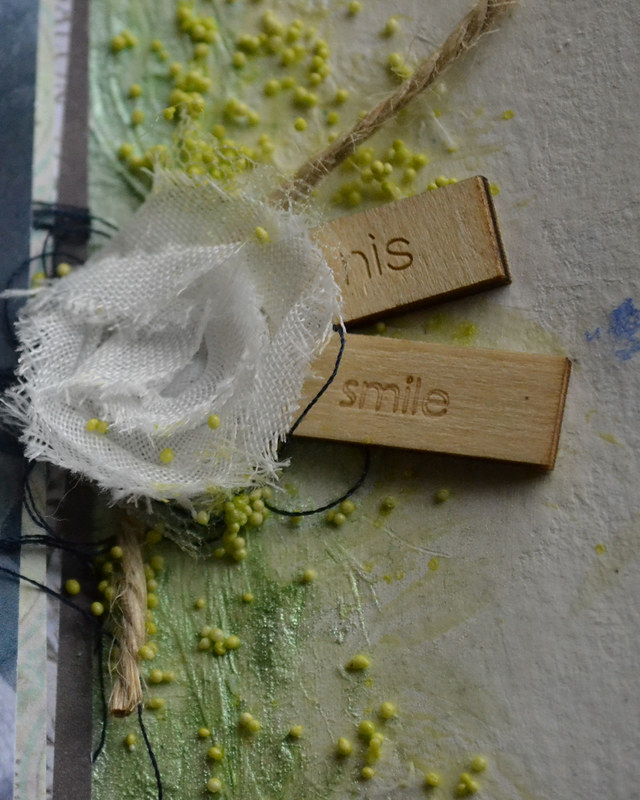
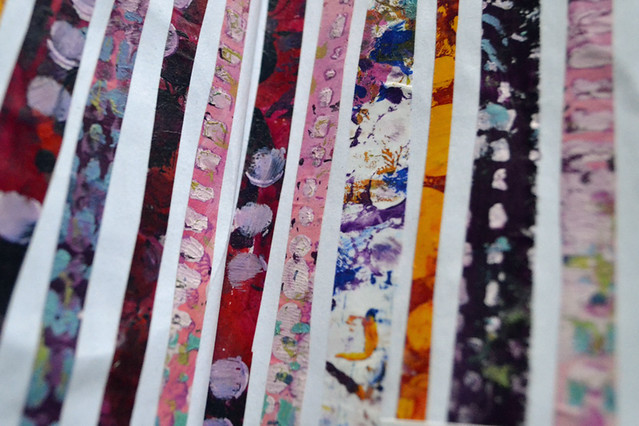
Here's a closeup of the effect on this week's layout. It is a subtle effect that makes the background of a layout more interesting.
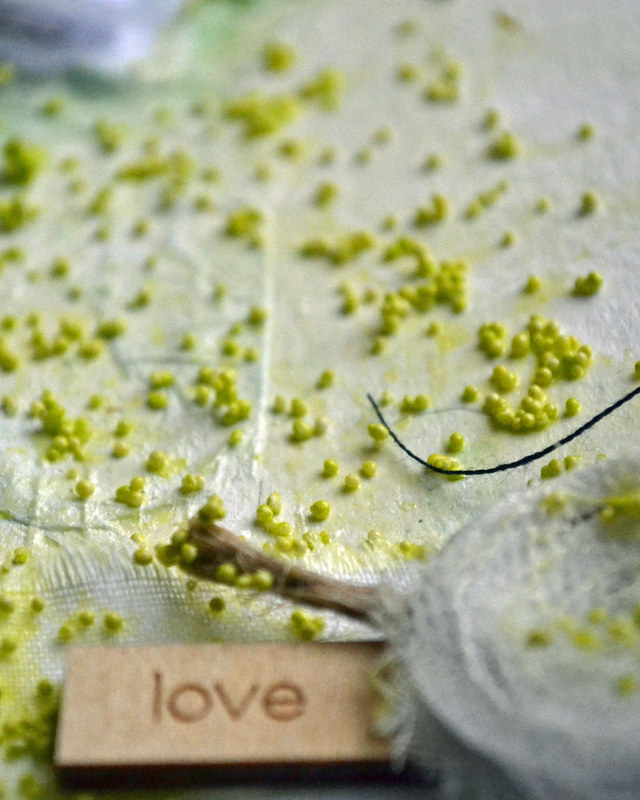
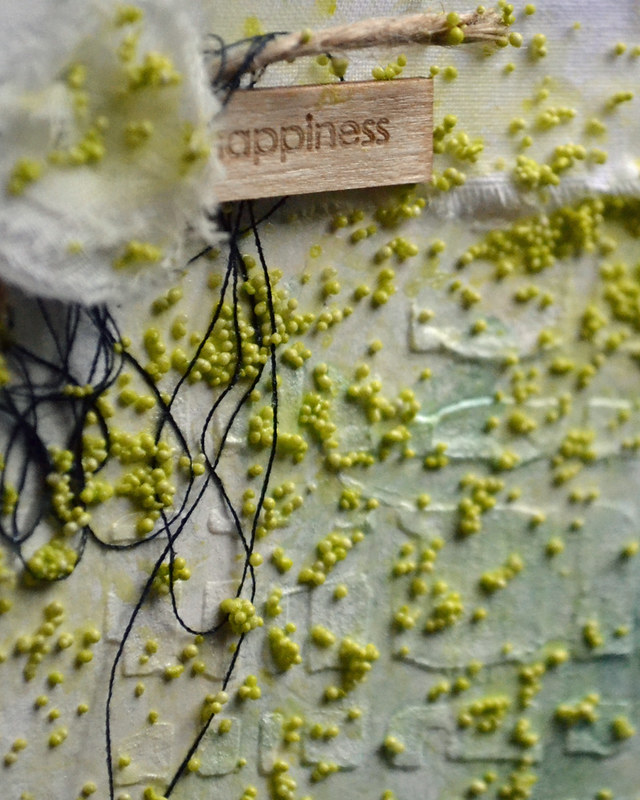
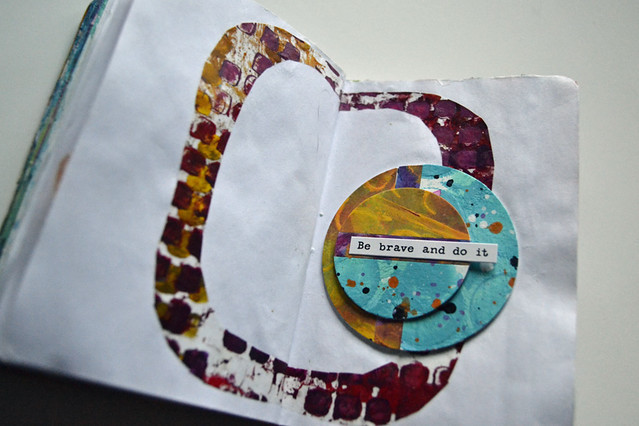
 5. Embellish.
 This week, I used some of the bits and pieces from my stash - wood veneer stars and geotag, doilies and ribbon.

This is one of my favourite ways to make my layout more interesting and it's also a great way to use things that are languishing in your stash. The ribbon has been sitting on my desk for years and I'm happy to finally use it.
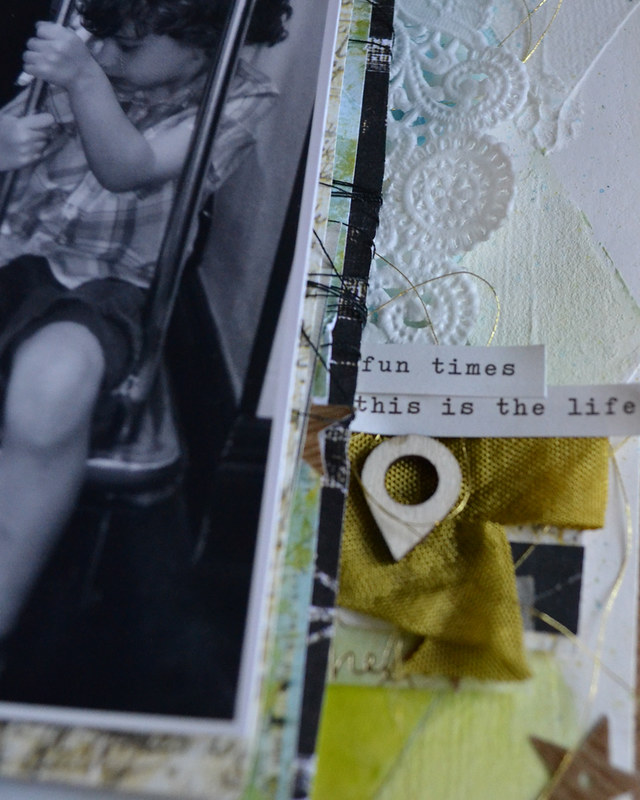
Funny thing...whenever I think I've used all my wood veneer geotags, I find another little bunch hiding in my stash. Weird, right?
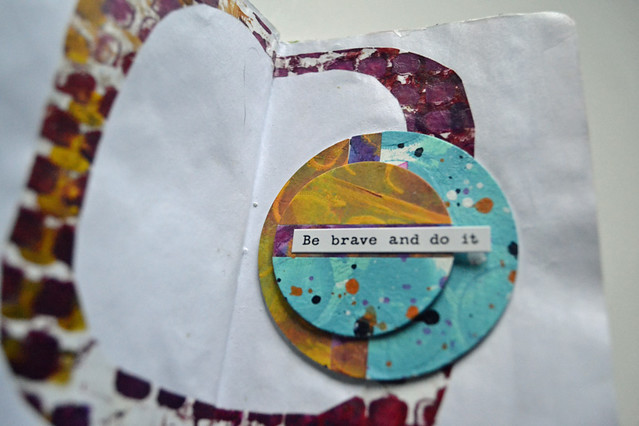
The phrase stickers are new -
Carpe Diem - Posh collection. I confess that I love phrase stickers and I can't resist picking them up every time I find them in a store.
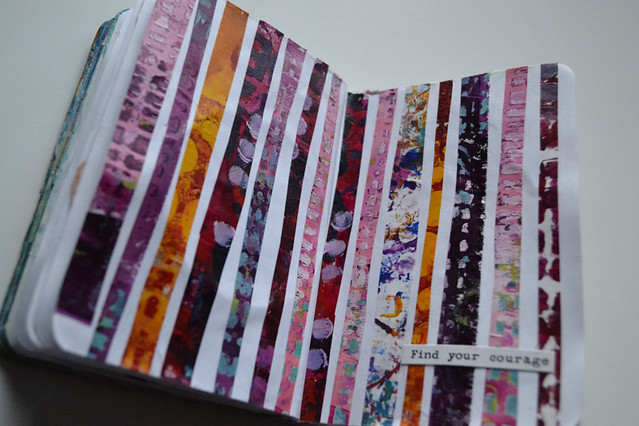
It's all the little details that make a layout special. It's not just the techniques you use to make the page but also the little bits and pieces you use to embellish and the colors you choose. It's all a part of the process.
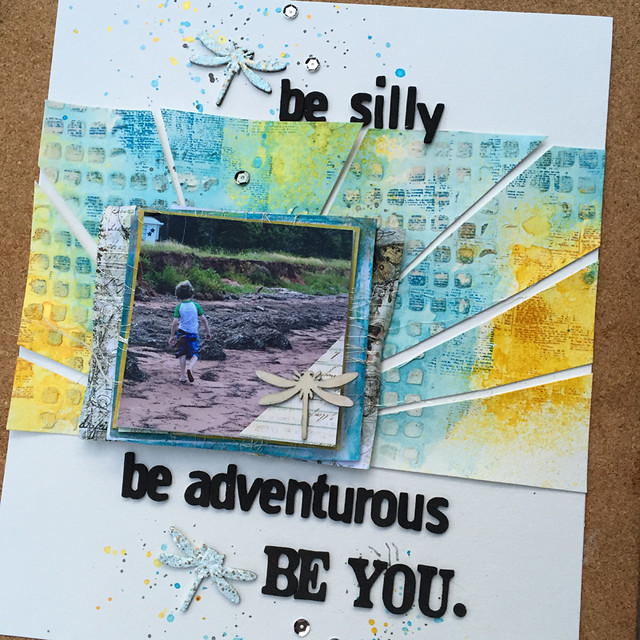
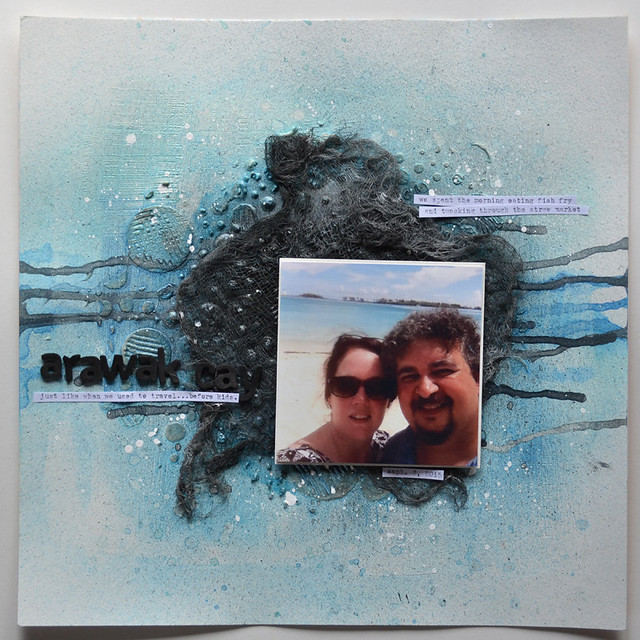
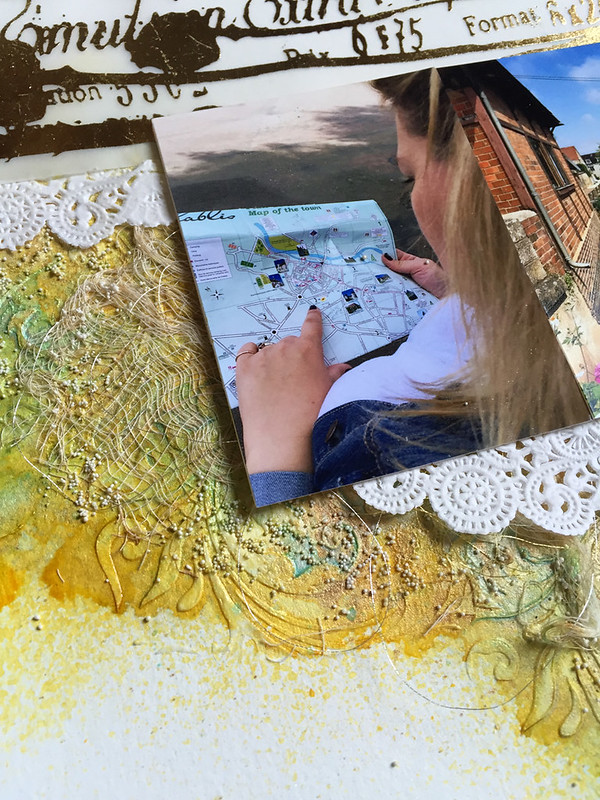
One last thing, I am teaching class this week at my local scrapbook store,
The Paperie. Here's a look at one of the layouts we'll be making in class. If you're local and interested in making a creative mess, please email or call the store (709-726-5323).
Thanks for stopping by!
Cathie